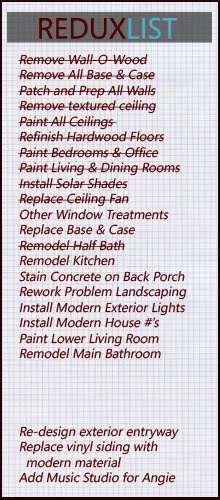
 You may remember us mentioning the textured ceiling in the office in a previous post. Not sure if you can tell by the picture (you may have to click it to enlarge it), but it was not a sprayed acoustical ceiling (i.e. popcorn ceiling) -- it was a very thick plaster-type textured effect that had been applied to the ceiling at some point in the house's history. Luckily this was the only room it had been applied in. And further, this was the smallest of the major rooms in the house. But don't be fooled, removing any type of a textured ceiling is one of the toughest and dirtiest "light" remodeling jobs there is.
From the day we first saw the house, we knew it was something that would have to be addressed at some point. The question of when to do it became obvious when we discovered the wood floors. It just made sense to do it before having the floors refinished. However, the question of what to do with it wasn't so obvious. We considered scraping it off, skim-coating the ceiling to level out the valleys, covering it with drywall, covering it with ceiling panels, or covering it with birch plywood. There were pros and cons to each potential solution.
Finally, it came time to begin and we decided, almost by default, to scrape it off in hopes of leveling out the ceiling. We thought that if we could scrape it, do a bit of sanding to level it off enough and then use a good flat ceiling paint, it might hide the craters enough that we could live with it. So...the scraping began. Using hats, leather gloves, eye protection, dust masks and a paint scraper, we took short shifts scraping. In the picture below you can see a row where we managed to scrape away the major texture -- what was left was a crater-looking surface, much like that of the moon.

We went with option #2 and the long and tedious process of chipping away began. Much like our experience in the guest bedroom, there were some spots that peeled away with ease, but this was definitely the minority. In a number of spots we had to resort to water and sponging to loosen the plaster texture in order to scrape it down with the putty knife. The final step was drywall patching and finishing. Did I mention the mess?? A number of evenings and some very sore necks and arms later, it was another memory to be tucked away (and quickly forgotten) in this greater remodeling scheme!

+copy.jpg)


2 comments:
I know too well what this is like. I thought you guys might want to check out our blog. Your remodel reminded me of the one we have going.
www.ourmodernhouse.blogspot
-damon
not sure why the .com didnt show up..
www.ourmodernhouse.blogspot.com
that is blogspot(dot)com
Post a Comment